iPhones are known across the world for their ability to capture absolutely amazing photos. But what happens when you wish to either edit these photos on professional programs or see these photos on a bigger canvas than even the largest iPhone models can provide?
The most straightforward solution is to master the art of transferring photos from your iPhone to your Mac, allowing your images to grace the expanse of your desktop screen. Our goal is to guide you through the optimal techniques for seamlessly shifting photos from your iPhone to either your iMac or MacBook. Let's dive straight into it!
| Methods | Effectiveness | Difficulty |
| EaseUS MobiMover | High – It’s an all-in-one data transfer tool that makes photo transfer quick and simple. | Super easy |
| iCloud | High – It syncs photos with devices using the same Apple ID. | Easy |
| Photos App | Medium – It allows you to import photos from your iPhone to your Mac. | Easy |
| Image Capture | Medium – Its best use is in uploading images captured on digital cameras. | Easy |
| AirDrop | High – It’s a convenient way to transfer without needing cables. | Super Easy |
| Medium – It’s great for transferring a few images. | Easy | |
| iTunes | High – It syncs your selected iPhone photos to your Mac Photos app | Moderate |
Way 1. How to Import Photos from iPhone to Mac with an All-round Transfer Tool
Photos are probably the most common file type in data transfers. There are many ways to transfer photos from iPhone to Mac. First, we want to introduce a professional iPhone data transfer tool – EaseUS MobiMover that works well on moving photos between iPhone and Mac. It makes the process of transferring data simple and secure.

EaseUS MobiMover is a multifunctional program that can also assist you in managing your iPhone data and quickly backing up your data, besides transferring files. It boasts numerous advantages. Its interface is concise and user-friendly, and its capabilities extend beyond photos and specific data formats. Should you be intrigued, follow the steps below to effortlessly transfer photos from your iPhone to your Mac using MobiMover.
Step 1. Get EaseUS MobiMover and connect your iPhone to your Mac
Download the EaseUS MobiMover software. With the help of a USB cable, link up your iPhone to your MacBook or iMac.
Step 2. Launch the program to choose a function
You need to launch EaseUS MobiMover and select “Phone to Mac” from the homepage.

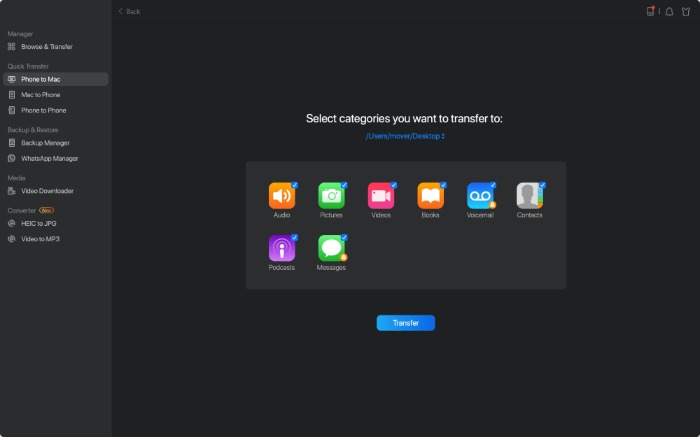
Step 3. Select your File Category
Here, you need to choose the category of files to import from iPhone to Mac.
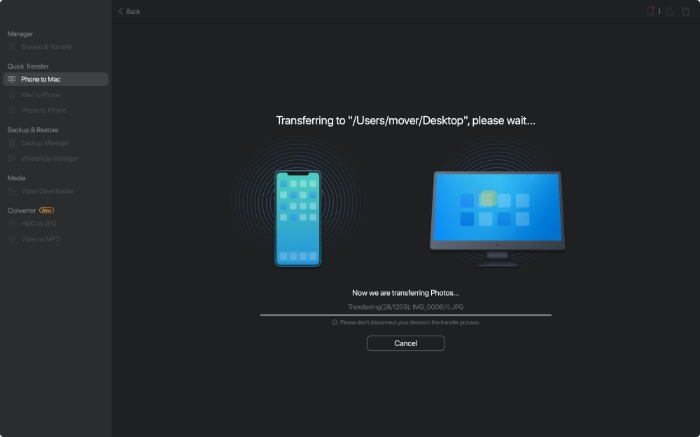
Step 4. Transfer the photos
Initiate the transfer process by clicking the “Transfer” button. Allow the process to proceed and wait for its completion. Once finished, you'll be able to access both videos and photos from your iPhone on your Mac.
Way 2. How to Sync Photos from iPhone to Mac via iCloud Method
You can move your iPhone photos to your Mac through various methods. One such technique involves utilizing iCloud to synchronize photos from your iPhone to your Mac. The iCloud photo library offers individuals a unique method to align all their images and videos across their Apple devices. Here's a guide on how to shift photos from iPhone to Mac using iCloud.
Step 1. Sign in to iCloud
Make sure that you are signed in with the same Apple ID on both your iPhone and your Mac.
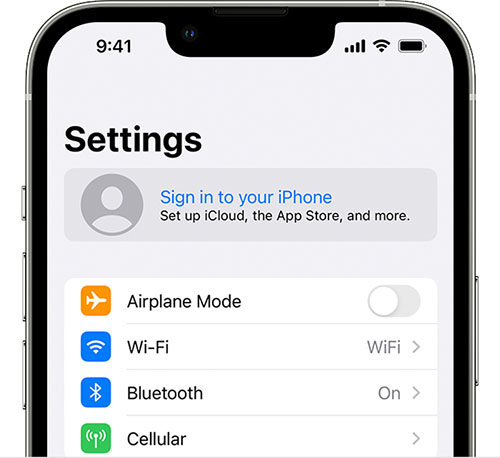
Step 2. Enable iCloud Photos on iPhone
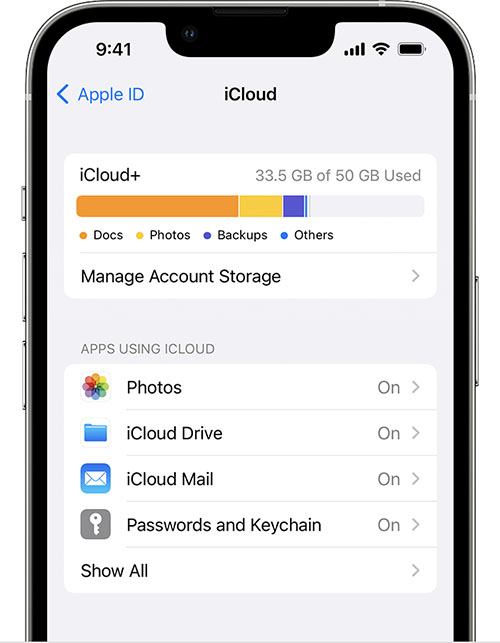
Access the Settings app on your iPhone and navigate to the Apple ID settings. Scroll down until you locate the iCloud option, then activate iCloud Photos on your device. This action will grant you the capability to store your photos within your iCloud account.
Step 3. Allow iCloud Photos to be accessed on Mac
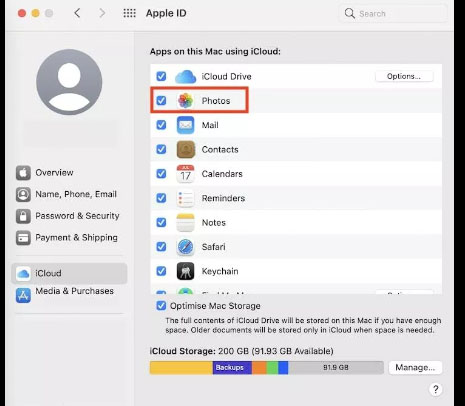
To proceed on your Mac, launch System Preferences, opt for “Apple ID,” and then scroll down to locate the iCloud section. Confirm that the checkbox labeled “Photos” is selected. By doing so, when you access the Photos App on your Mac, you will find your iPhone photos seamlessly integrated alongside them.
Way 3. How to Download Photos to Mac from iPhone Through Photos App
The next way on how to import photos from iPhone to Mac is to download photos through the Photos App. This is a nifty way of accessing your iPhone photos on your Mac, and the best part about it is that you can send over selected photos instead of importing all your photos. Here’s how you can do this:
Step 1. Connect iPhone to Mac using a USB cable.
Step 2. Select your iPhone in the Photos App on Mac
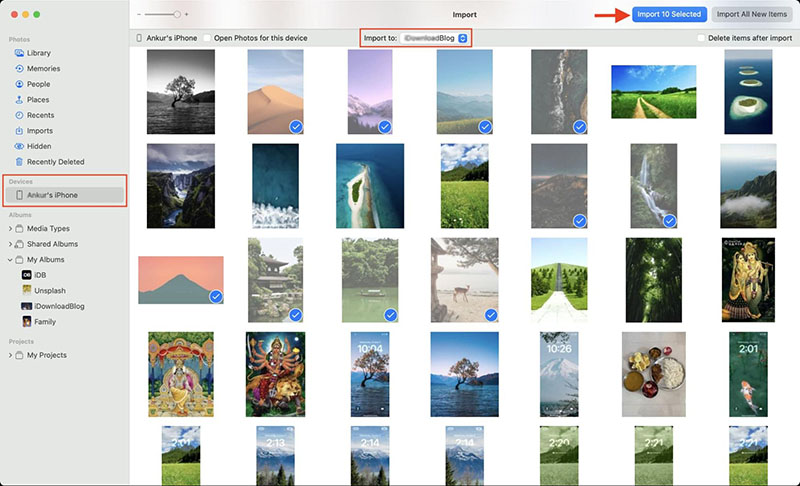
After launching the Photos App, proceed to the devices sidebar and choose your iPhone from the list. With this accomplished, you can seamlessly move on to the next step in the process.

Step 3. Select your photos and hit Import
Now, you can scroll your iPhone's photo library on your Mac screen, and select the photos that you wish to import to your Mac. After that, you just need to Click “Import Selected” to start the transfer process.
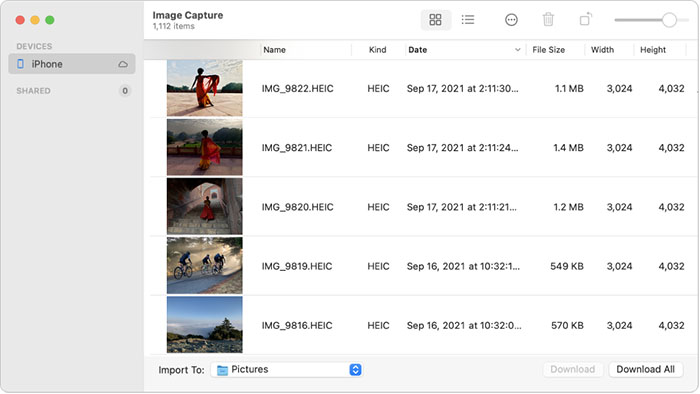
Way 4. How to Copy Photos to Mac from iPhone with Image Capture
If you are looking for other methods besides the above-mentioned three methods of importing photos from iPhone to Mac, you can also copy photos to Mac from iPhone using Image Capture. The steps for this tip are listed below:
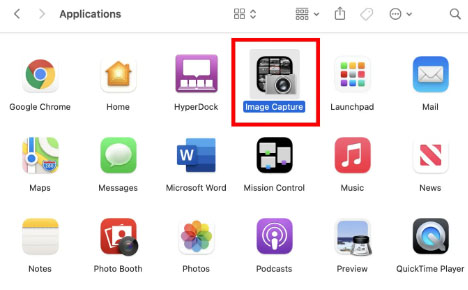
Step 1. Begin by connecting your iPhone to your Mac and then launch Image Capture on your Mac. Subsequently, from the list of available devices on your Mac, select your iPhone to proceed.
Step 2. Select your photos
After selecting your iPhone, proceed to choose the particular pictures you intend to import. Subsequently, click on the “Import” button. Within a short span of time, your selected photos will be seamlessly transferred to your Mac.
Way 5. How to AirDrop Photos from iPhone to Mac Wirelessly
The fifth approach to importing photos from an iPhone to a Mac involves utilizing AirDrop. This method is exceptionally straightforward and eliminates the need for any USB cables, allowing for a wireless connection between your iPhone and Mac. To employ this method for photo transfer, adhere to the following steps:
Step 1. Enable AirDrop on both your iPhone and Mac.
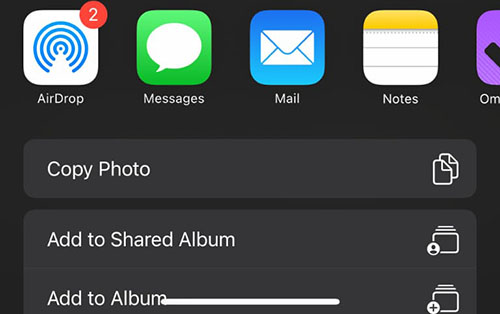
Step 2. Select photos from iPhone
Open the Photos App on your iPhone and pick the images you want to transfer to your Mac. Following this, tap the share button and choose AirDrop as the sharing method. Select your Mac from the available options and then proceed to tap the share button once again.
Step 3. Receive photos on Mac
Once you've shared the photos from your iPhone, a notification will appear on your Mac, prompting you to confirm whether you wish to receive the AirDrop. Kindly accept the AirDrop request to proceed with the transfer.

Way 6. How to Send Photos from iPhone to Mac via Email
An alternate method to transfer photos from your iPhone to your Mac is through email. While we understand that this approach may not be preferred by everyone, it serves as an option for importing iPhone photos to your Mac, especially when dealing with a small number of images. To proceed with this method, follow the steps outlined below:
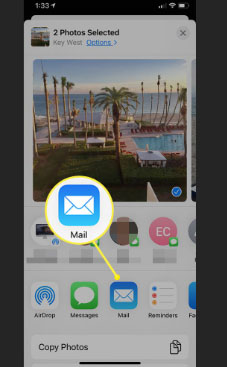
Step 1. Launch the Photos App on your iPhone and select the photos to import

Step 2. Choose Mail as the sharing medium
After selecting your photos, you need to hit the share icon, and choose Mail as the sharing method. In your mail left, type in your email address as the receiver and hit send.
Step 3. Save photos on your Mac
Now go to your mail app on your Mac, and open the email containing the transferred photos. You can download those photos from your email.

Way 7. How to Transfer Photos from iPhone to Mac Using iTunes
The final approach covered in this guide for transferring photos from an iPhone to a Mac involves using iTunes. iTunes is a versatile tool used to synchronize various types of data between iPhones and Macs, including photos. If you wish to transfer photos from your iPhone to your Mac using iTunes, diligently follow these steps:
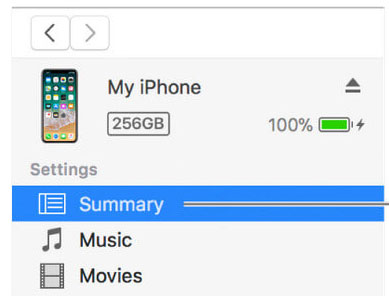
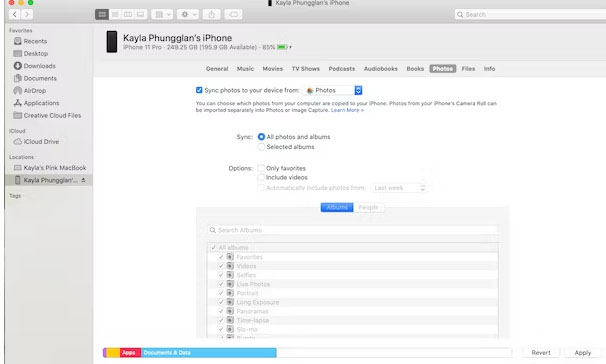
Step 1. Connect iPhone to Mac via USB cable and select iPhone in iTunes
Within the iTunes app, commence by choosing your iPhone from the roster of devices available. Subsequently, navigate to the photos category and proceed to select the specific photos or albums that you intend to import to your Mac.
Step 2. Sync photos
After you've made your selections of photos or albums, simply click on the “synchronize” button. This action will initiate the process of importing the chosen photos to your Mac.
Conclusion
Numerous methods exist for importing photos from your iPhone to your Mac. In this article, we've delved into the seven most prevalent approaches, each with its distinct advantages and disadvantages. Following our extensive testing, we recommend considering EaseUS MobiMover for a more convenient experience when transferring photos from iPhone to Mac. This comprehensive iPhone data transfer tool serves not only photo transfer but also caters to various other data transfer requirements you might have.
FAQs
Here are the answers to some of the most frequently asked questions on how to import photos from iPhone to Mac.
1. Why can't I Import photos from my iPhone?
If you encounter difficulties importing photos from your iPhone, it could potentially be due to software-related issues with the tools you're utilizing. Additionally, improper connectivity between your iPhone and Mac might also contribute to this problem.
2. Why are my photos on my iPhone not syncing to my Mac?
Should you find that your iPhone photos aren't syncing with your Mac, connectivity problems could likely be at the root of the issue. If connectivity isn't the culprit, it's worth considering whether your devices have distinct Apple IDs associated with them, which could also lead to synchronization challenges.
3. How do I select all my photos on iPhone without dragging them?
Launch the Photos App on your iPhone, and tap on the Select button in the top right corner. Select any photo, and you’ll see the Select All option. You can tap it to select all your photos on your iPhone.