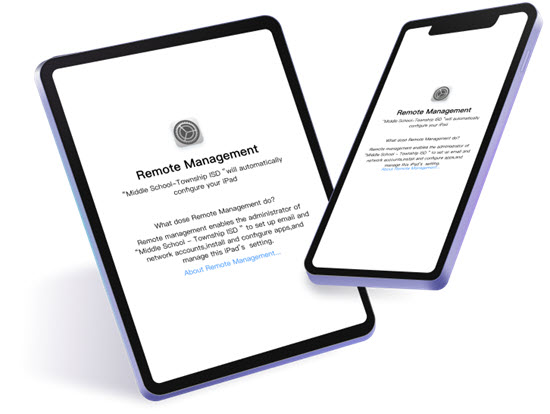
How to Remove Remote Management from iPad 2024(Full Guide) … How to Remove Remote Management from iPad 2024(Full Guide)
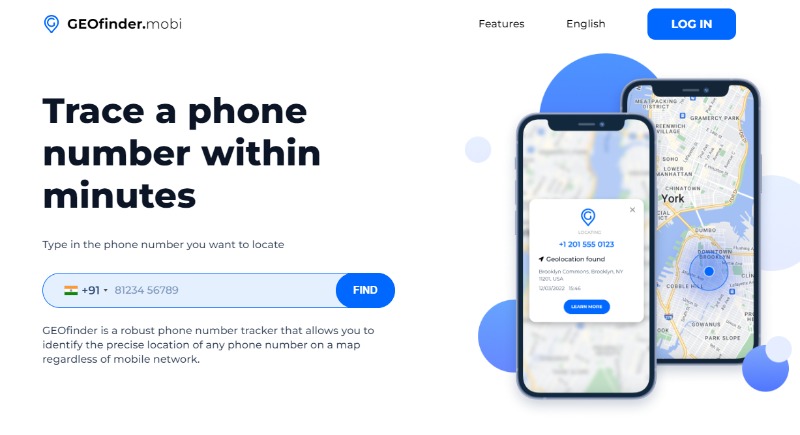
How to Track Someone’s Location with Phone Number Online … How to Track Someone’s Location with Phone Number Online
How to See Already Deleted WhatsApp Messages by Sender on iPhone … How to See Already Deleted WhatsApp Messages by Sender on iPhone
How to Save Battery Life on MacBook Pro, Air 2024 … How to Save Battery Life on MacBook Pro, Air 2024