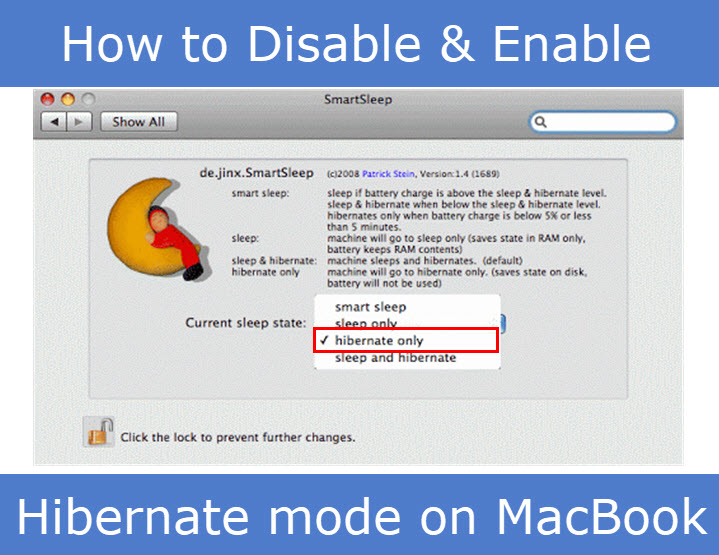
You can change your Mac Sleep mode to hibernation. In hibernation mode, RAM content copied to your hard drive before your MacBook Pro enters sleep. After your Mac sleep, power is removed from the RAM. When you turned on Mac, the hard drive must first write content back to RAM. So wake time is a bit slower. You can put your Mac to hibernate mode with some applications like Deep sleep (hibernation Dashboard widget for Mac OS X 10.4.3 and above) or preference plugins like SmartSleep.
How to enable Hibernation mode via terminal on any Mac when closing the lid
MacBook Pro screen goes sleep mode very fast. But it also consuming power. When you enable this hibernate mode similar to Windows it goes into hibernation stay and does not consume any power.
First, check the current sleeping mode
Open Terminal (located in /Applications/Utilities/) and type the following command.
sudo pmset -g| grep hibernatemode 25

Press Enter and type your password. This will tell you what hibernate mode your Mac currently in.
You will get one of the following responses.
- hibernate mode 0 – o means normal sleep mode
- hibernate mode 1 – hibernate mode
- hibernate mode 3 – Safe sleep mode
Now go to System Preferences -> Security & Privacy and Filevault. If FileVault is turned on, you need to make the hibernate 5. It has not turned on, just make it 1.
Now type sudo pmset hibernatemode 1
or 5 depending on if your FileVault turned on or off.
Press Enter. Hibernate mode is now turned on.
How to disable hibernate mode and enable standard sleep
Open the Terminal and type the following command.
sudo pmset -a hibernate mode 0
Conclusion
I hope this article will help you to know how to disable and enable hibernate mode on Mac. If you have any doubts or suggestions let me know through the comments section below. Thank you.